Requirements:
- Marg ERP; a leading software application provider in GST has introduced a faster and easier Payment Reconciliation in order to help simplify and ease the banking transactions.
- A seamless integration of Marg ERP & AXIS Bank will help to easily manage the bank transactions i.e. IMPS, NEFT, RTGS, Same Bank Transferwww.margcompusoft.com or by visiting this link. You can also use free Marg trail period to have an experience of connected banking. We recommend you to take backup of your data before proceeding. Your data will stay intact after the installation finishes.
Benifit of Integration of Marg ERP and Axis Bank
- Get Paid Faster for your invoices
- Offer customer multiple payment methods
- Easy Salary disbursement/ Easy Expense disbursement
- Create Flexible Payment Schedule for vendors, expenses
- Centralized Account Management
Registration process
If you face any problem during the registration process, you can Contact Marg dedicated helpline at 011-30969691.
Step 1: Navigate to 'Online Banking' tab and select 'Axis Bank Registration'.

Step 2: A window of “Admin/Supervisor Detail” will be displayed in which the user will fill the
details for security of the owner’s data/protect the data so that it doesn’t get misused.
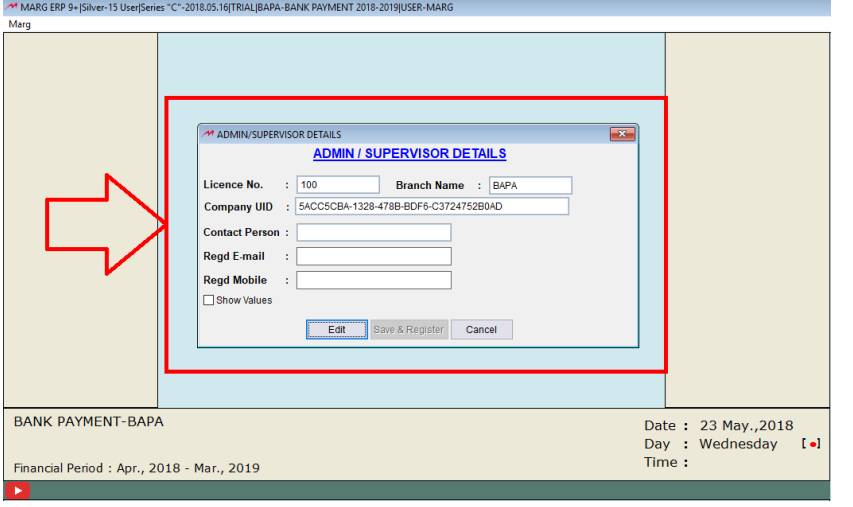
Step 3: In order to fill this window the user will click on “Edit” and then click on “Save &
Register” once the details are being filled.
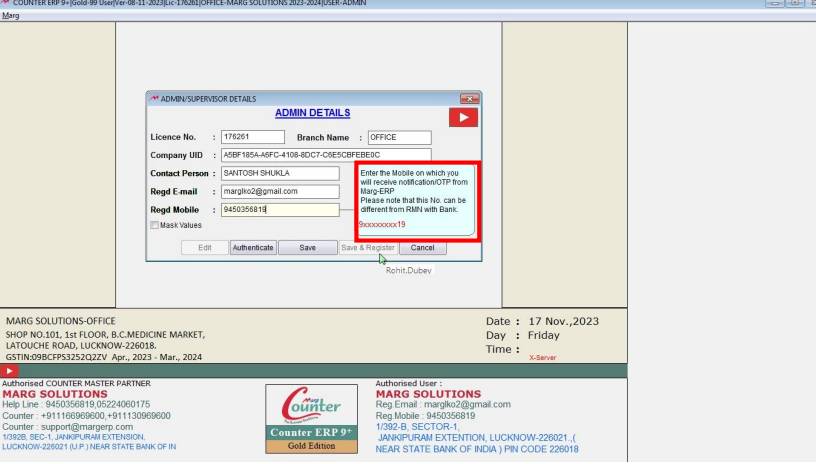
Step 4: Process to Fill the Admin/Supervisor Details in Marg ERP Software and click on Authenticate.
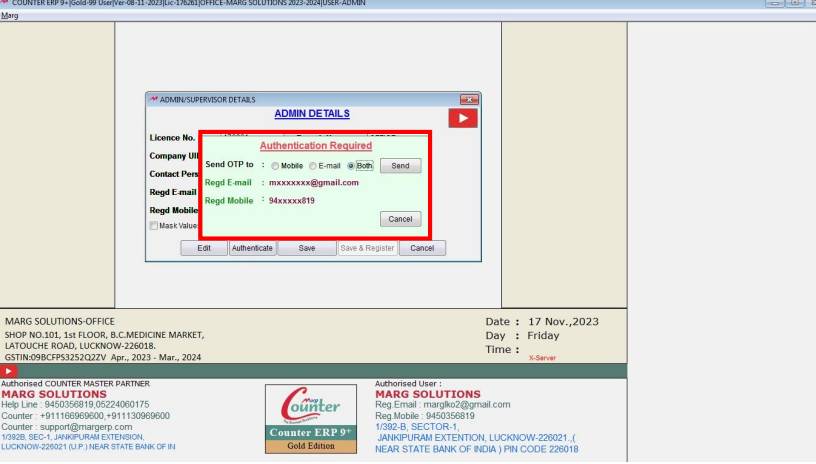
Step 5: A window of “Authenticate is visible. Select both and send OTP>>Click “SEND”.
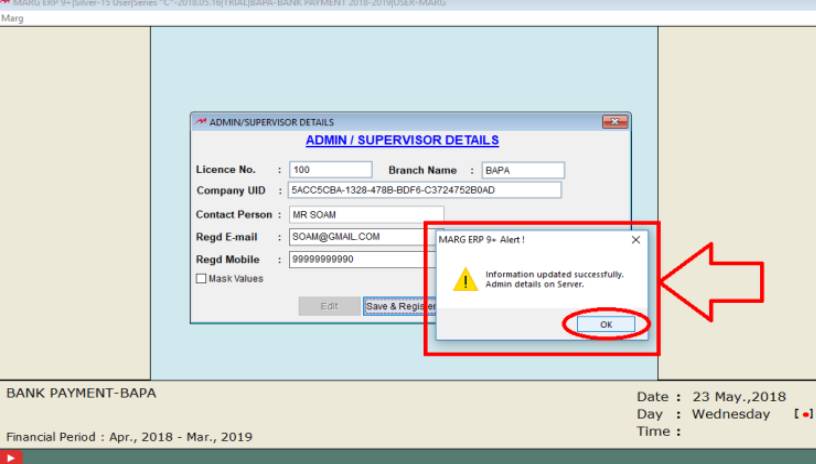
Step 6: View of Information Updated Successfully in Marg ERP Software.
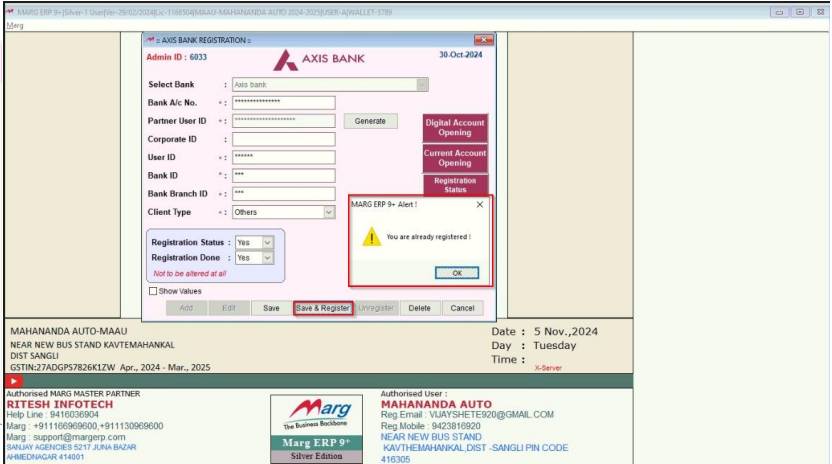
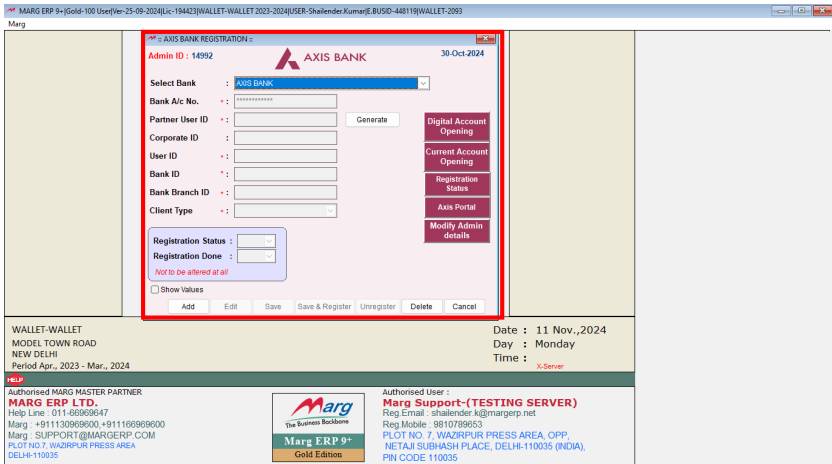
Step 7: Now, AXIS Registration window will get displayed. As the user is registering for the first time; click on “Add”.
Step 8: Select AXIS Bank: All the Bank accounts which exists in the organization will get displayed. Select the bank account which needs to be registered>>Click on “OK”.
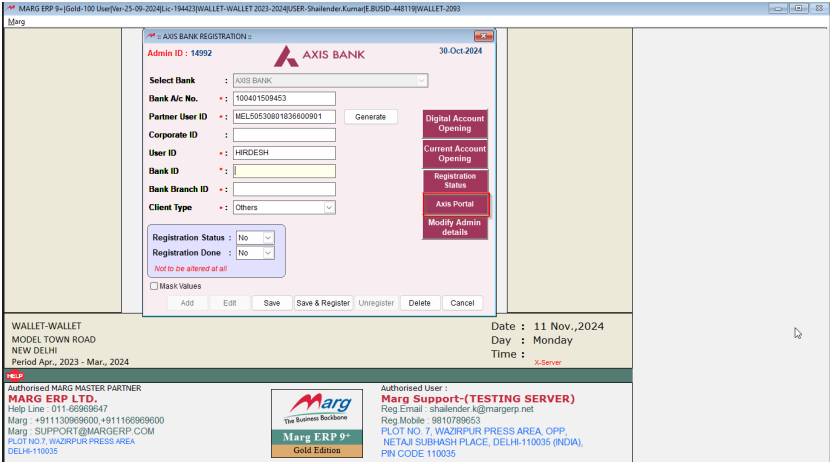
Step 9: AXIS Bank A/c No.: Enter the Account No. If it exists in the ledger then it will be picked by Marg Software automatically. The user can click “Show Values” in order to view the values.
Step 10: Users need to enter their User ID. Then, simply click the 'Save' button.
Step 11: If the user is a corporate id needs to fill in his corporate ID
Step 12: After clicking on the Axis Portal link, it should redirect to the authorized permission screen
Step 13: If the user is corporate, select the Corporate Login tab. Otherwise, click on Retail tab.
Step 14: Now, enter valid credentials and click on the Proceed button.
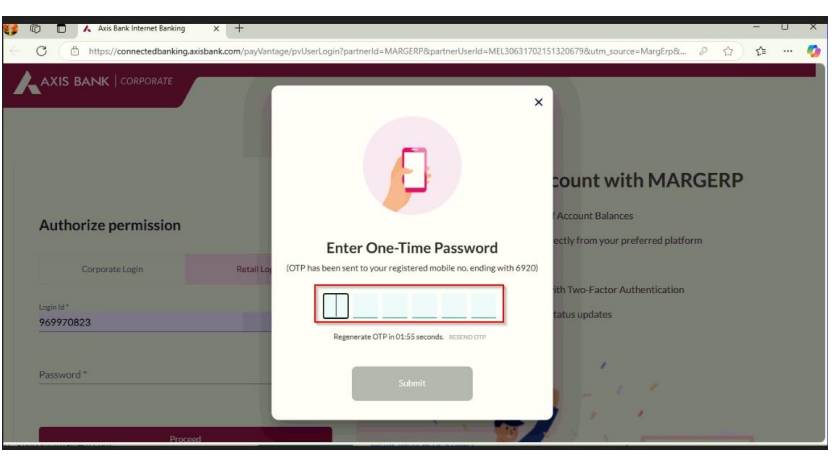
Step 15: After clicking the Proceed button, the OTP window will appear
Step 15: Now, enter the 6-digit OTP in the OTP field. After entering the OTP, the Submit button will be enabled.
Step 16: After clicking the Submit button, the Terms & Conditions window will appear.
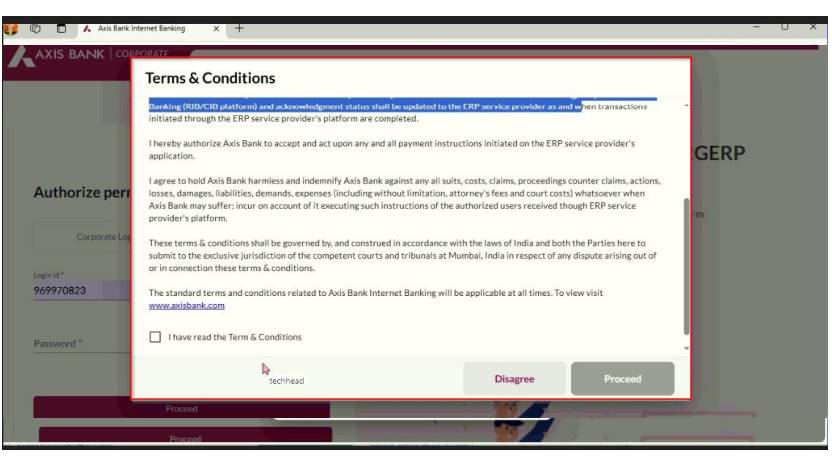
Step 17: Now, select the checkbox for "I have read and agree to the Terms & Conditions.
Step 18: After selecting the checkbox, the Proceed button will be enabled.
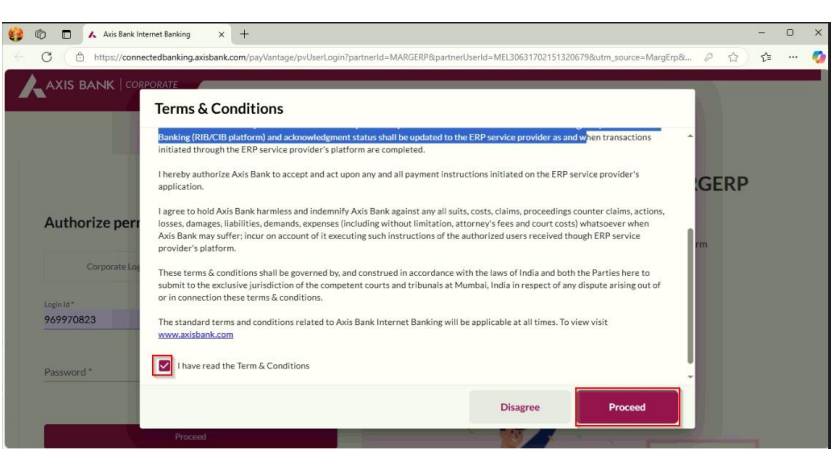
Step 19: After clicking the Proceed button, it will redirect to the Congratulations! screen.
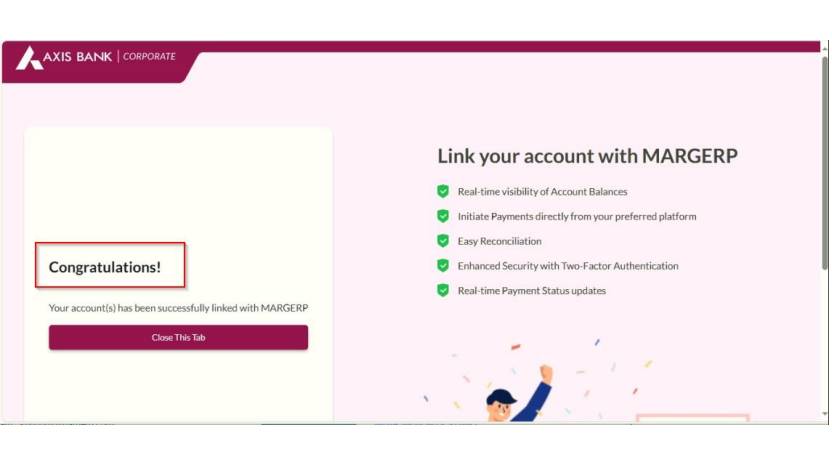
Step 20: Click on the Save & Register button, and it will show Registration successfully.
Step 21: If the same user registers again and clicks the Save & Register button, they will receive the message, "You are already registered!".